The Image component shows a picture on the screen: a logo, a poster, a photo of a dish, an ad banner. You can show one picture or build a slideshow from several. The playlist accepts both ready-made catalog images and your own files.
Add the «Image» component
In the screen editor open a scene, in the Layers card click + Component and pick Image. Then select the added layer and click Configure.
Open the manager
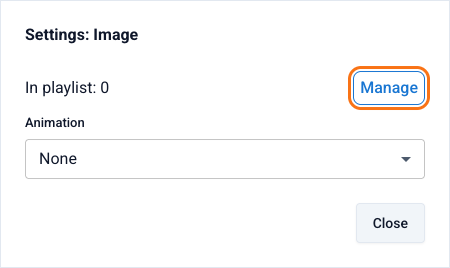
In the component settings click Manage — the image playlist manager opens. The display animation (none, zoom, or slide) is also set here.
The «Manage» button opens the catalog and upload Upload your image
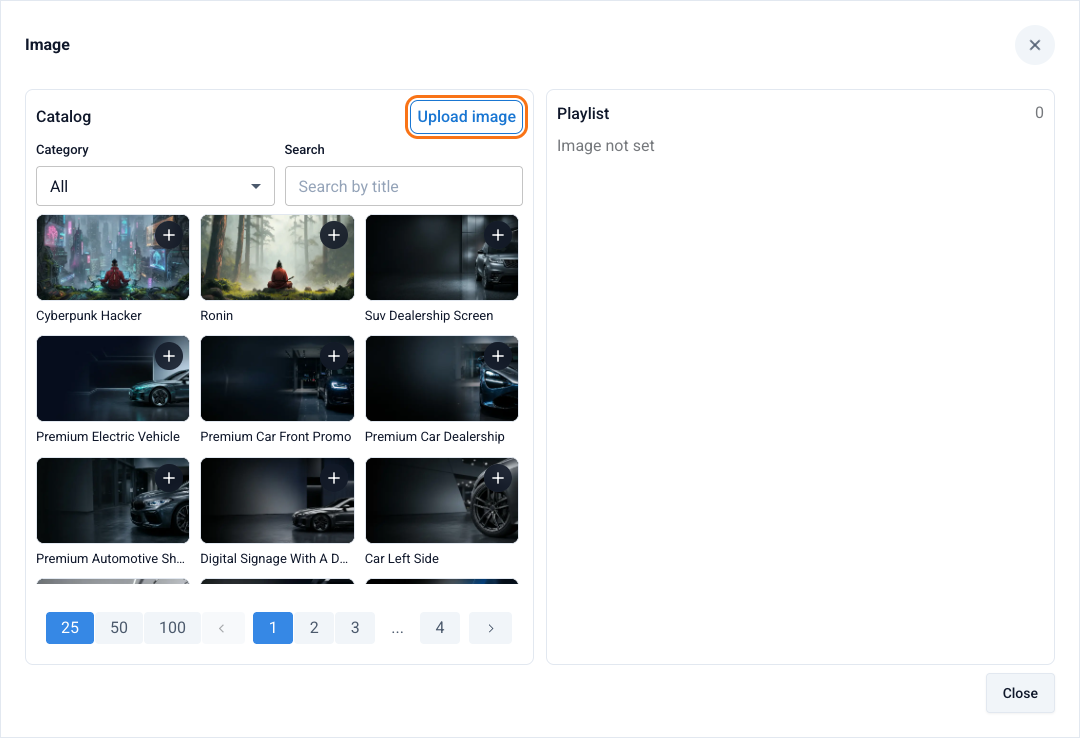
The catalog of pictures is on the left, your component's playlist on the right. Click Upload image above the catalog and pick a file on your computer. After uploading, the picture appears in the catalog — to see only your files, choose My uploads in the Category filter.
The «Upload image» button above the catalog Add the picture to the playlist
Click + on the picture you need to move it into the playlist (right column). Close the manager and save the screen.
If the playlist has several images, the component shows them in turn as a slideshow — a Slide interval field (in seconds) appears in the settings. A single picture needs no interval.
Your own and catalog images can be mixed in one playlist. The Zoom or Slide animation brings a static picture to life — handy for background slides.
Open Screen Studio