Besides the Tunio catalog, you can put your own music on air — upload tracks from your computer, sort them into categories, and build playlists and collections from them. Uploading lives in the Music Catalog section, on the Upload Music tab.
Uploading your own music is available on the «Pro» plan and above. If you need the upload feature for a trial period — contact support.
Create a category (optional)
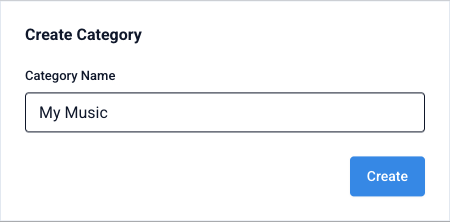
Categories help you sort your music by theme. On the My Categories tab (or right on the upload screen with the Create Category button) set a name — for example, "My Music".
Categories help organize your uploaded tracks Pick a category and upload files
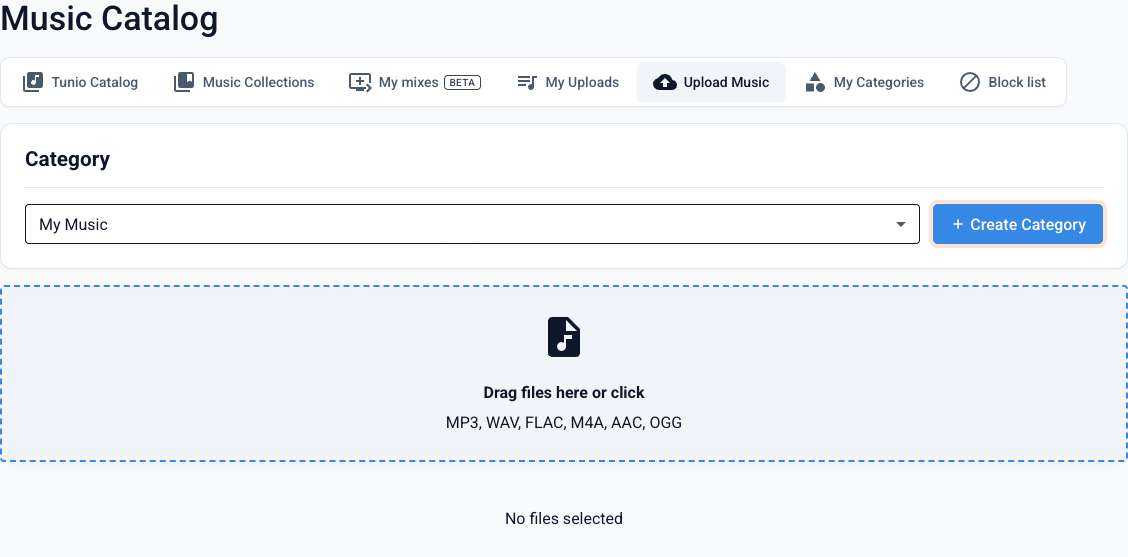
On the Upload Music tab pick a category from the dropdown, then drag audio files into the upload area or click it and select files. The supported formats are MP3, WAV, FLAC, M4A, AAC, OGG. Multiple files can be uploaded at once.
The upload area on the «Upload Music» tab Wait for the upload to finish
Files queue up and upload one by one with a progress indicator. Finished tracks appear on the My Uploads tab.
Putting uploaded tracks on air
Uploaded tracks get into a stream through a collection: you group tracks into a collection and then use it as the music source of a playlist.
Create a collection
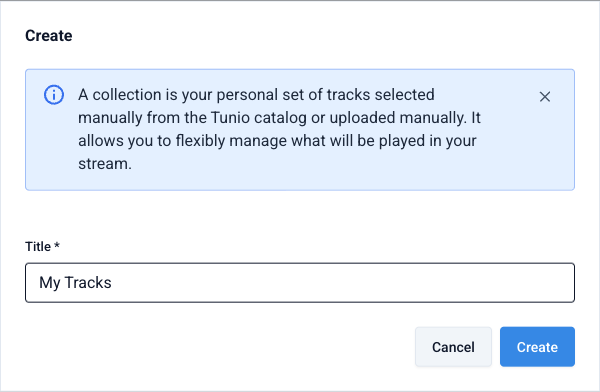
Go to the Music Collections section, click Create and give the collection a name — for example, "My Tracks". A collection is your personal set of tracks: it can mix your own uploads with tracks picked from the Tunio catalog.
Creating a collection in the «Music Collections» section Add your tracks to the collection
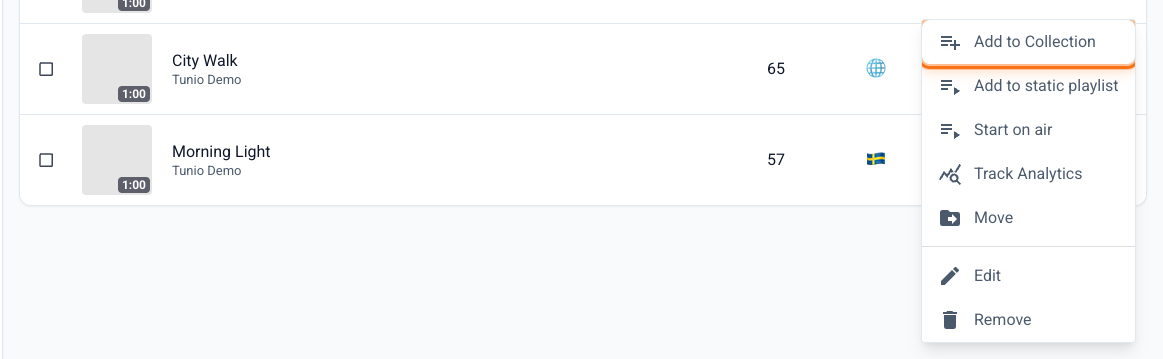
Open the My Uploads tab, click the menu (⋮) next to the track you need and choose Add to Collection.
The track menu on the «My Uploads» tab Pick the collection
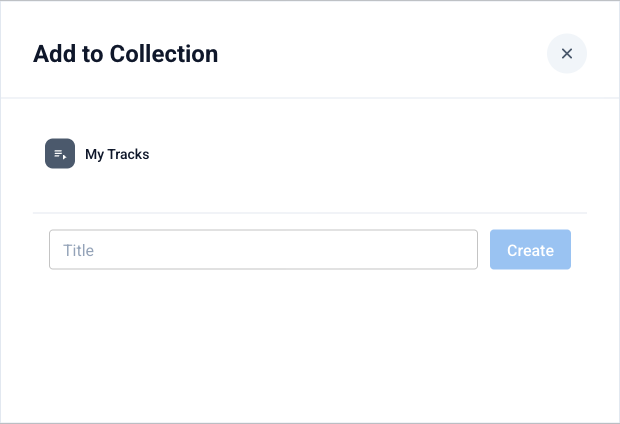
In the dialog, click the collection you want — the track is added right away. You can also create a new collection here without leaving the page.
Choosing a collection for the track Use the collection as a playlist source
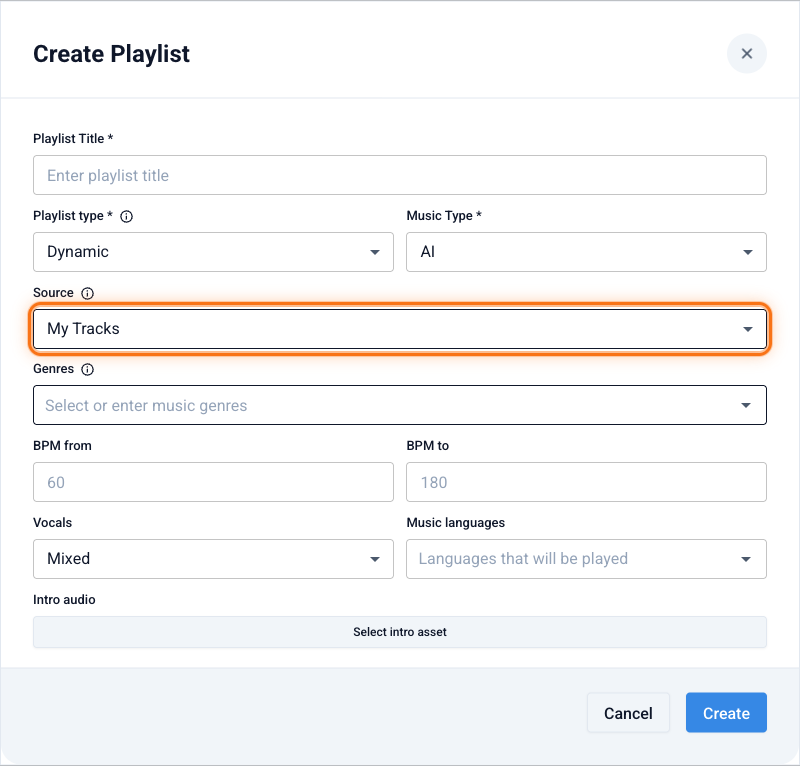
Go to the Playlists section and open the settings of a dynamic playlist (or create a new one). In the Source field pick your collection instead of the Tunio catalog — the playlist will rotate tracks from it. Then put the playlist on air as usual: pin it in the stream schedule or apply it to the stream.
The «Source» field in dynamic playlist settings
Copyright
On the first upload Tunio shows a disclaimer you have to accept. Read it carefully.
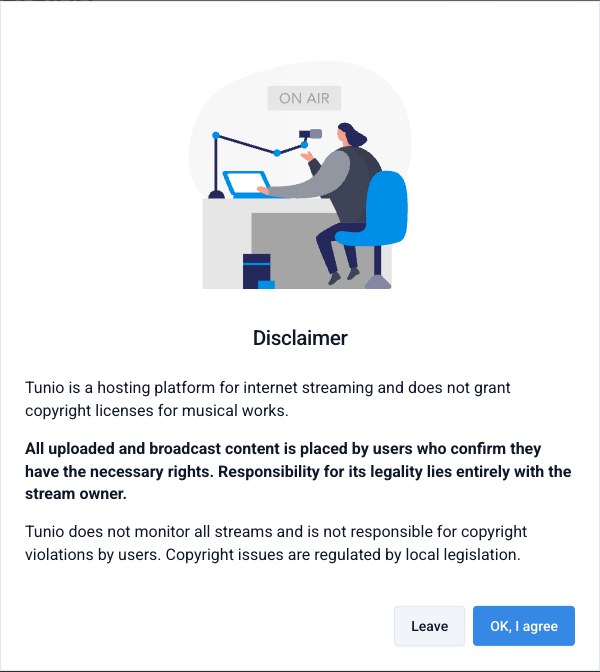
This applies only to the tracks you upload. For music from the Tunio catalog, we provide all the necessary rights. For your own uploads, Tunio acts as a hosting platform for streaming and does not grant copyright licenses — responsibility for the legality of uploaded content lies entirely with the stream owner. Before uploading, make sure you have the necessary rights to the music and that it does not infringe third-party copyrights.
Upload your own music