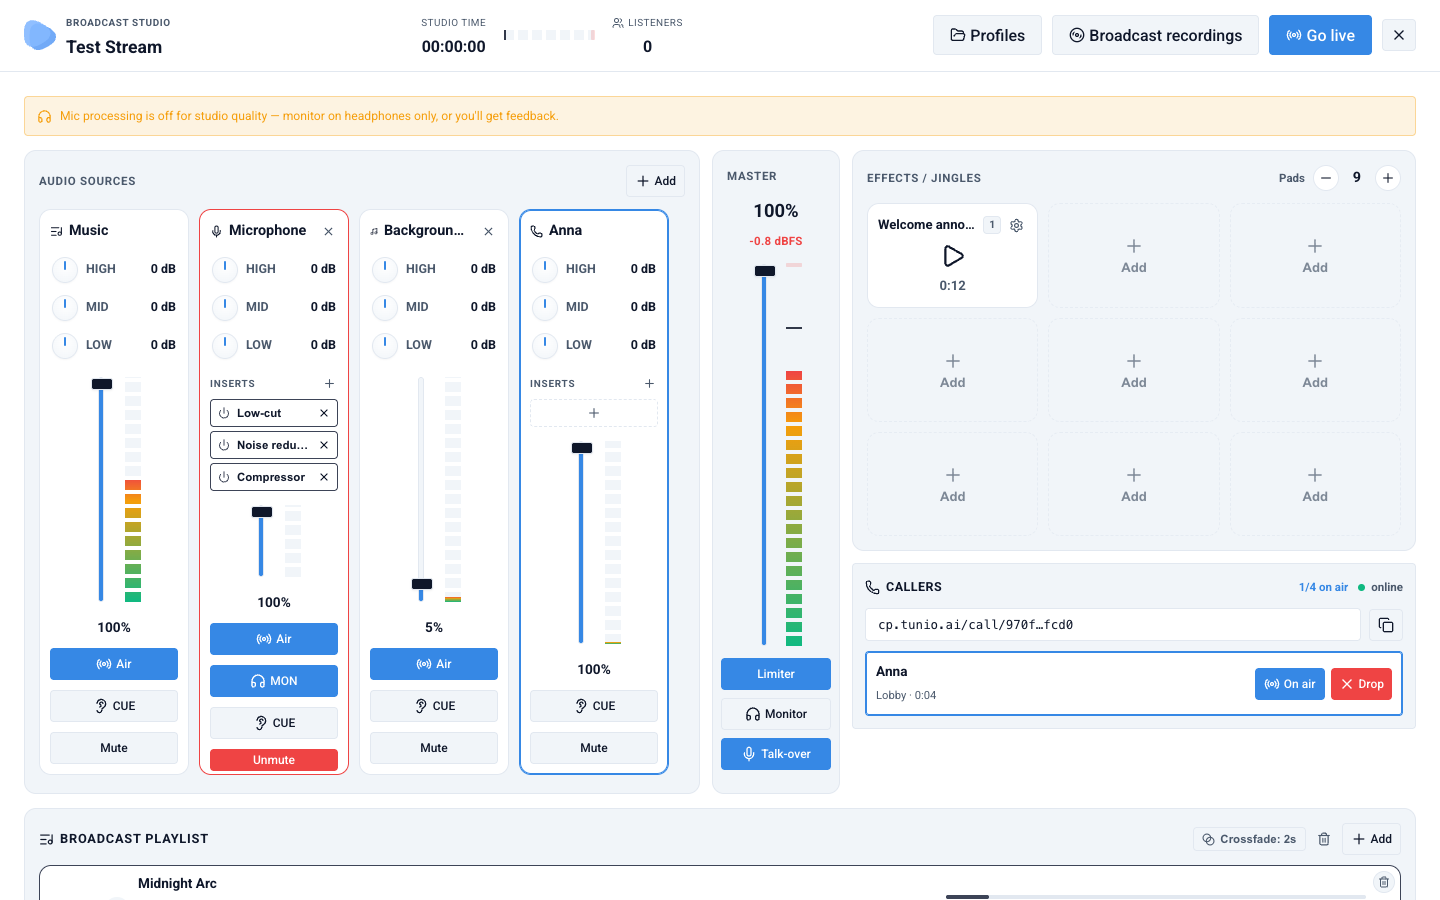
The Broadcast Studio is a full broadcast console that runs right in your browser. No OBS, external mixers or encoders: add a microphone and polish your voice with studio-grade plugins, build a broadcast playlist from the catalog, put jingles and announcements on pads with keyboard shortcuts, take guest calls — and push the finished mix to your stream with a single button. Every show is recorded automatically, too.
Opening the studio
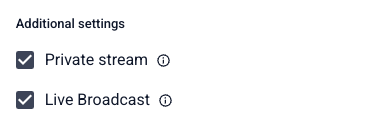
Enable Live Broadcast in the stream settings
Open the stream's Basic Settings (in the left menu) and, under Additional settings, tick the Live Broadcast checkbox. Without it, the Studio button won't appear in the player. This mode is available on the Pro plan and up. After saving, restart the broadcast once — stop the stream and start it again, otherwise the mode won't take effect.
Open the studio from the player
Go back to the stream's home page — the player will show a Studio button next to "Go live". Click it to open the console.
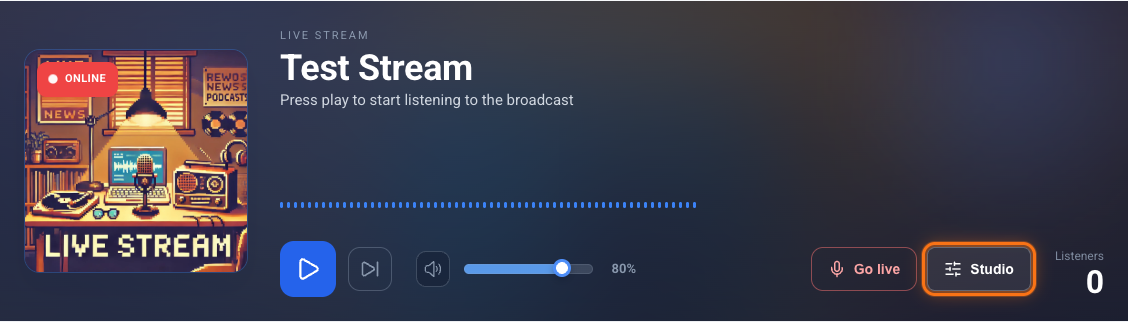
Until you press "Go live", the studio runs "dry": you can build and rehearse the whole show without listeners noticing a thing.
Browser mic processing is turned off for studio-grade sound, so monitor on headphones only — speakers will cause feedback (echo and howling).
Audio sources
The channels of your show live in the Audio sources panel. The Music channel is always there — the broadcast playlist plays through it. Other sources are added with the Add button:
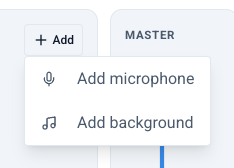
- Add microphone — the browser asks for mic access and your voice channel appears in the mixer. To protect against feedback the mic is added muted: put your headphones on and press Unmute when you're ready. Noise reduction is already on for a fresh mic.
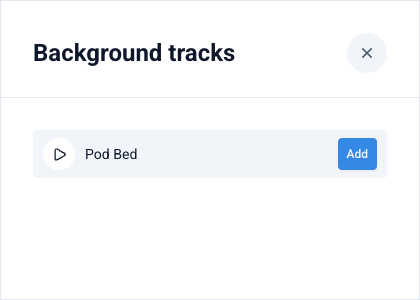
- Add background — opens a catalog of background beds: preview any of them and add it as a separate channel.
Every channel has its own set of controls, just like a real console:
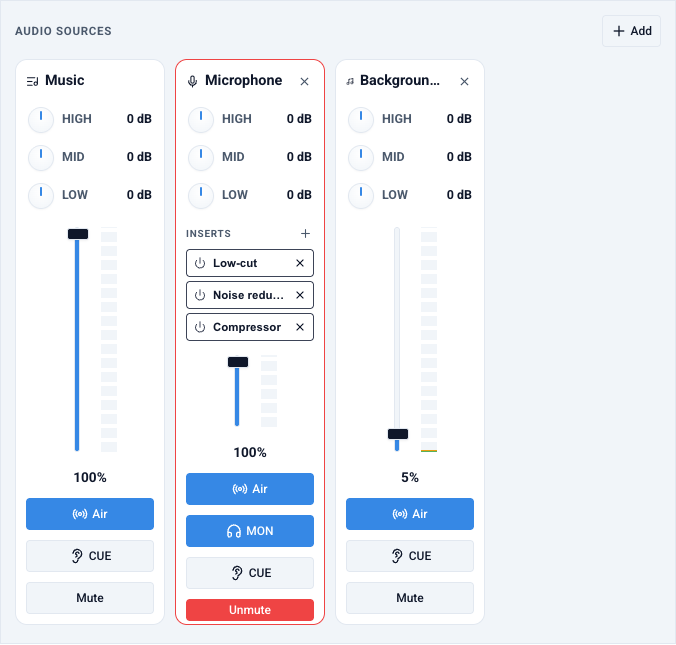
- LOW / MID / HIGH EQ — three bands with ±12 dB of travel: shape your voice or tame the bass of a bed.
- Inserts (voice channels only) — a rack of processing plugins, covered below.
- Fader and level meter — the channel's level in the mix and its live signal.
- Air — the channel feeds the broadcast (on by default). Turn it off and the channel stays alive in your headphones and in the guest connection, but listeners can't hear it: perfect for talking to a guest off the record while music plays on air.
- MON (mic only) — whether you hear your own voice in your headphones. The air and your guests are unaffected.
- CUE — pre-fade listen in your headphones, independent of the air and the fader: while anything is cued, the monitor solos it. Handy for checking a jingle or a guest without touching the broadcast.
- Mute — instantly removes the channel from everywhere.
Voice processing: inserts
Voice channels — your microphone and every guest — carry an Inserts rack: a chain of plugins between the source and the EQ, just like a studio console. The "+" button opens the list:
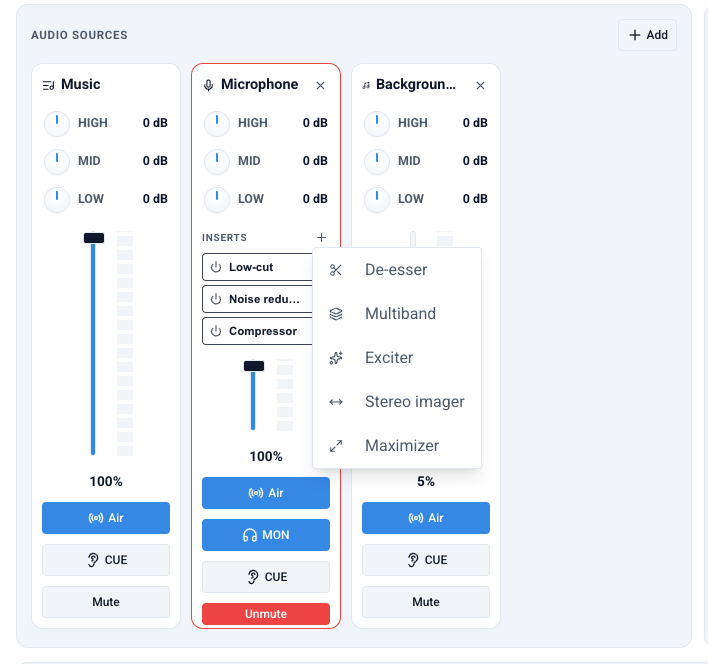
- Low-cut — a 90 Hz filter: removes rumble, hum and desk thumps.
- Noise reduction — tames the mic background: fans, street noise, room tone. On by default for a fresh mic.
- De-esser — softens hissing "s" sounds without dulling the whole voice.
- Compressor — evens out the level: quiet parts come up, peaks are held back — the dense "radio" sound.
- Multiband — a three-band compressor that balances lows, mids and highs.
- Exciter — adds upper harmonics: the voice sounds brighter and more "expensive".
- Stereo imager — makes the voice bigger and wider in stereo; collapses to mono without artifacts.
- Maximizer — raises loudness and brick-walls the peaks; always sits last in the chain.
The power button on the left temporarily bypasses a plugin, the cross removes it from the rack. Some plugins have settings — click the name with the gear icon: Width for the Stereo imager, Amount for the De-esser and Multiband, Gain for the Maximizer. The processing order is fixed and correct — cleanup first, then dynamics, then color and loudness — no matter in which order you add the plugins.
Master section
The Master panel controls the final sound of the broadcast:

- Master fader — the overall level of the mix. Next to it is a meter with peak-hold and a clip warning, and above the fader — the peak level in dBFS (turns red near the clipping point).
- Limiter (on by default) — guards against clipping on the peaks.
- Monitor — lets you hear the broadcast in your headphones: the exact mix your listeners will get.
- Talk-over (on by default) — automatically dips the playlist music when you speak into the mic and smoothly brings it back in the pauses. Turn it off for a music show with an open bed.
Broadcast playlist
The panel at the bottom of the studio is the Broadcast playlist: a queue of tracks that play one after another through the Music channel. The Add button opens the Music for the show picker with two tabs — the Tunio catalog and your uploads; search, filter, preview and queue tracks right from the row action menu.
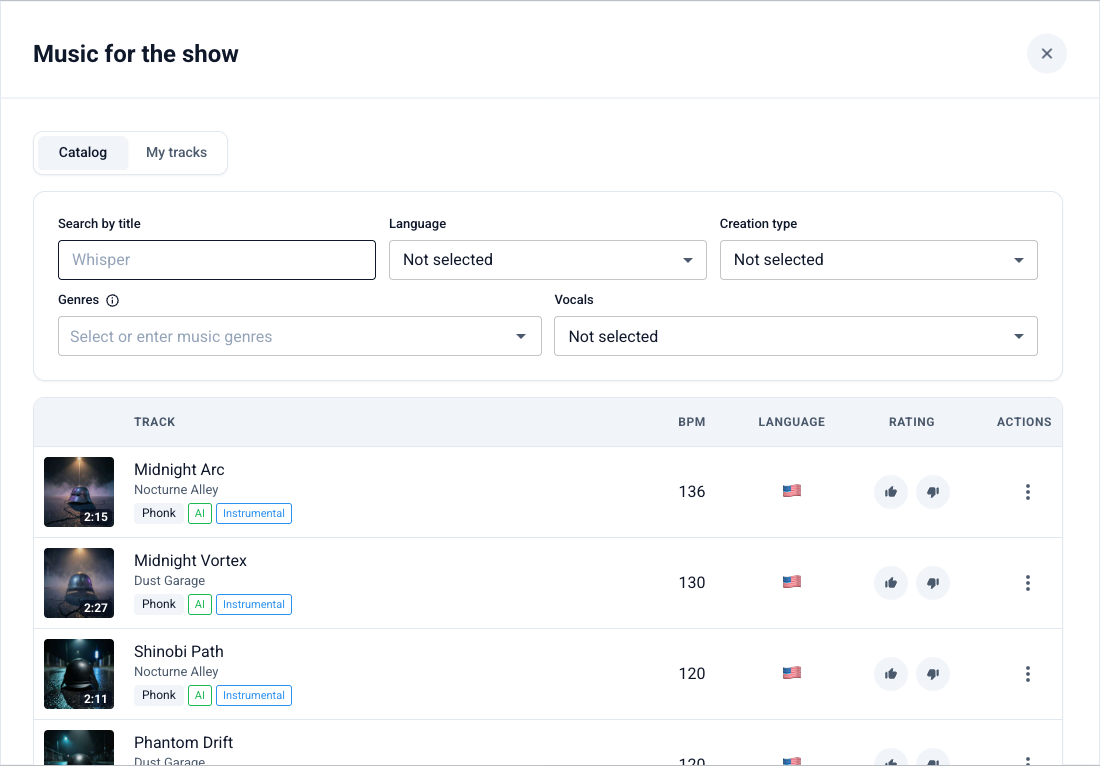
Tracks change with no gaps, and the panel header holds the crossfade switch — a smooth overlap of track ends: off / 2 / 3 / 4 / 6 seconds.
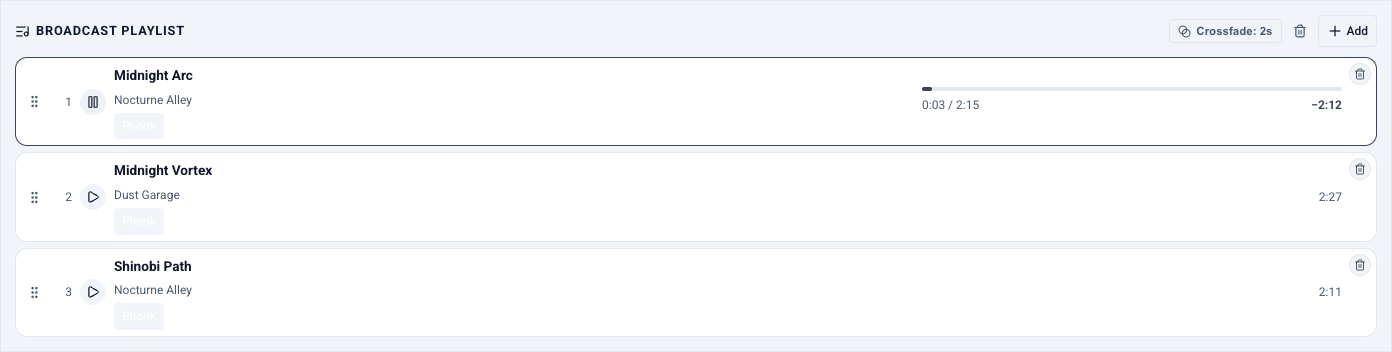
The playing track shows elapsed time and a countdown to the end: the last 15 seconds turn red so you have time to prepare the segue. Reorder the queue by dragging the grip on the left — even while something is playing; auto-advance follows the new order.
Pads: jingles and announcements at hand
On the right is a grid of quick-launch pads. Load them with the jingles and announcements you'll need during the show: sweepers, greetings, ad spots. The "−" / "+" buttons in the panel header resize the grid from 3 to 30 pads.
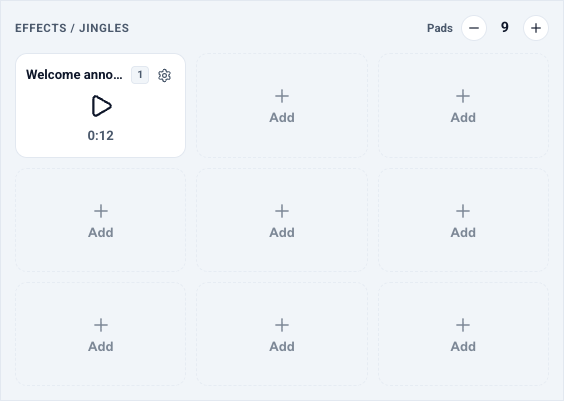
Open the pad settings
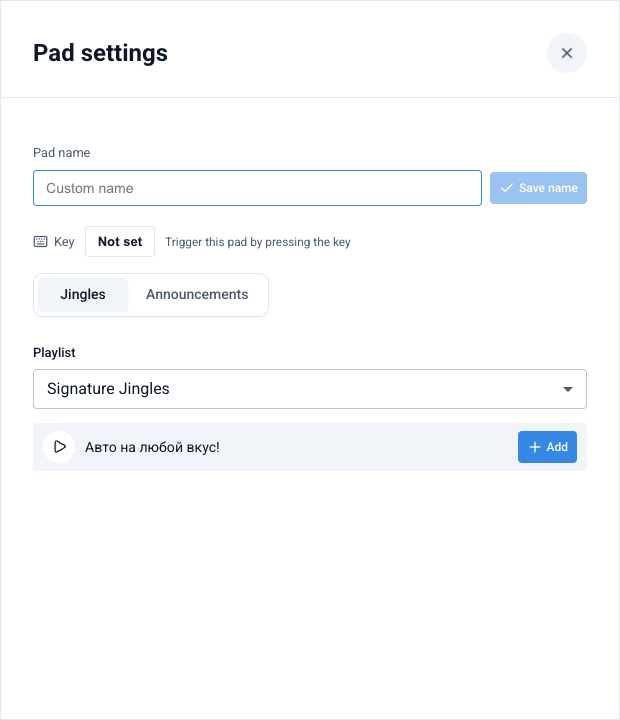
Press Add on a free pad (or the gear on an assigned one). On the Jingles tab pick a playlist and preview the options — the Add button binds the jingle to the pad. Here you can also give the pad a custom name and assign a keyboard shortcut: click the "Key" field, then press the key — it shows up as a badge on the pad, and the pad fires from the keyboard.
Or load an announcement
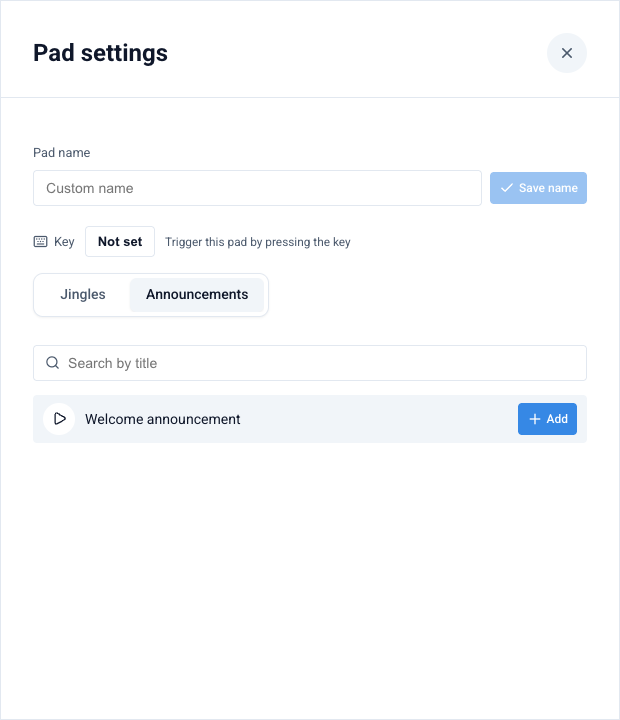
The Announcements tab lists your voice announcements with a title search. Only finished (generated) announcements can be added.
Hitting a pad sends its content on air: the other channels fade to silence while it plays, the broadcast playlist pauses and resumes from the exact same spot afterwards. If you hit several pads in a row they queue up and play one after another — the queue numbers show on the pads.
Guests on air
The Callers panel takes call-ins right through the browser — no telephony or third-party services.
Send the link to your guest
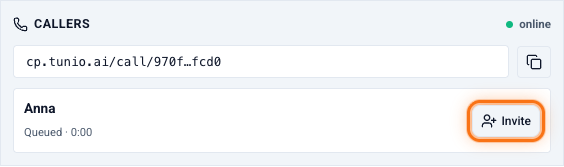
Copy the call-in link from the panel and send it to the guest any way you like. The guest opens it in a browser — phone or computer, nothing to install.
The guest joins the queue
On the call-in page the guest sees your station name, enters a name and presses Call in. They see their position in the queue, and their card shows up in your panel.
Invite them to the lobby
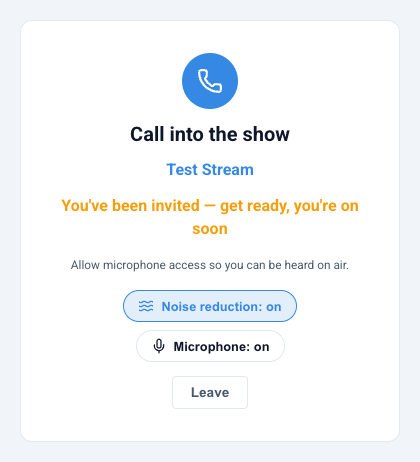
Press Invite — the guest gets a mic-access prompt and lands in the lobby: you already hear them in your headphones and can talk before going on air, and the guest gets their own mixer channel — with the EQ, the fader and the same insert rack as your microphone. Listeners can't hear them yet.
Put them on air
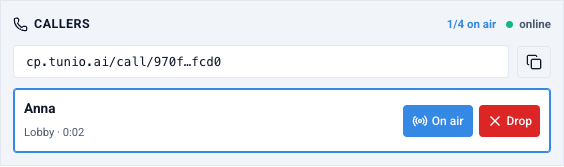
The On air button on the guest's card connects their voice to the broadcast. Drop (before air) or Finish (on air) takes the guest off.
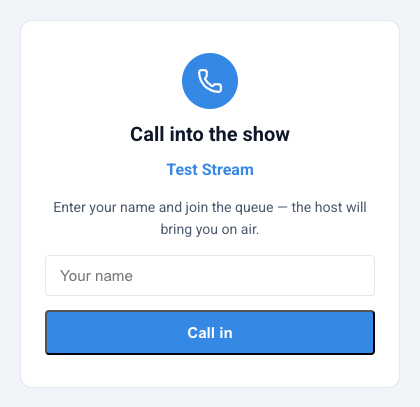
The guest gets a mini console of their own on the call-in page: a noise reduction toggle (on from the start — street noise and room tone are tamed before the audio is even sent) and a microphone toggle to mute themselves without leaving the call.
Up to four guests can be connected at once (lobby plus on-air) — the counter in the panel header shows the occupied slots. Every guest hears the show and the other guests but not their own voice, so there's no echo on their end.
Broadcast recordings
Every broadcast longer than two minutes is recorded automatically — nothing to switch on. The finished MP3 recordings live behind the Broadcast recordings button in the studio header: preview them there, download (say, to republish the show as a podcast) or delete.
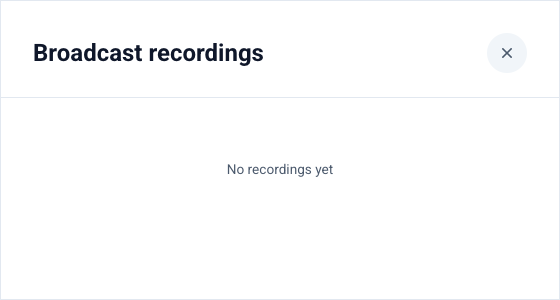
Recordings count towards your library storage quota — keep an eye on it and delete what you don't need.
Profiles: save your console setup
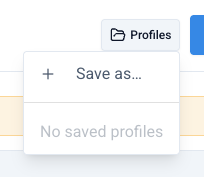
Your whole setup — channels with their inserts, pads with their shortcuts, the playlist and the master section — can be saved as a profile and restored with one click before the next show. The Profiles menu lives in the studio header: Save as… creates a profile, a loaded profile gains a Save changes item, and renaming and deleting live there too. Guests are not saved into profiles.
Going live
When everything is ready, press Go live in the studio header. The mixer's output replaces the playlist rotation — your listeners hear the studio. The header shows the on-air timer, the ON AIR badge and the current listener count.
The Stop button ends the broadcast and the stream returns to its regular scheduled rotation.
The studio also watches the broadcast for you: if the connection to the server drops, it reconnects automatically and lets you know; and if the air stays silent for more than a few seconds, it warns you — in case the mic is still muted or the playlist is paused.
While you're on air the studio won't let you kill the broadcast by accident: closing the tab, navigating away or closing the studio all ask for confirmation.
Open the Broadcast Studio